

 We miss going out to eat. I'm not gonna lie, that might be the hardest part of isolation. My partner Tyler and I have both worked in the service industry and we love the community here in Ottawa. It's not only about the delicious food and the strange and wonderful wines, but a lot of it has to do with seeing people, catching up with our friends behind the bar. The weather has been so beautiful lately and patios have started to open up all over the city. We aren't quite ready to venture out in to the patio crowds, so what we have started doing is going for picnics! Tyler has been doing a good job at "supporting small businesses"– which is just code word for spending too much money on wine from our friends' restaurants – so we now have a lovely selection of wines that are perfect for dining al-fresco! Now all we need is a way to transport our food and wine to our chosen picnic spot without anything getting warm... I have been wanting to make a cooler, or insulated, bag for years, mainly to transport drinks to our weekly beer-league softball games (sadly, softball was cancelled this year) but now we had even more reason to need one – to the sewing room!

I used the Range Backpack pattern from Noodlehead for a few reasons. One, I love the style. I have been following the hashtag on Instagram for a while now, and there are so many awesome versions out there. Two, the roll top design seemed like a good feature for keeping in the cold, and not allowing it to escape from zippers or other closures. And three, it's fully lined so I knew I wouldn't have to make many adjustments to incorporate my insulated lining.

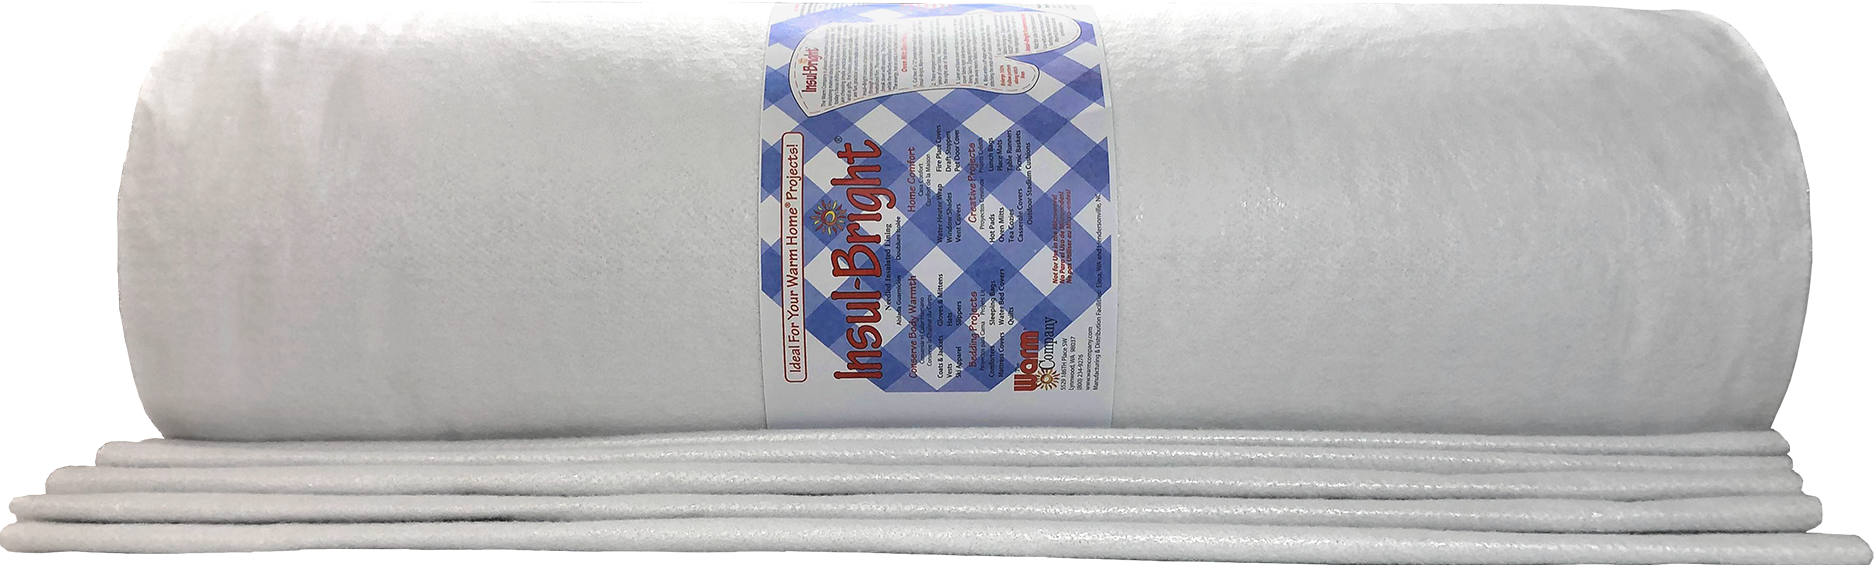
So speaking of insulated lining – I used InsulBright. InsulBright is essentially a polyester batting that has a reflective metalized core. "The polyester fibers resist conduction while the reflective metalized polyester film reflects radiant energy, hot and cold, back to its source" It is perfect for both hot and cold applications and many people use it for pot holders, oven mitts and lunch bags.
 For the exterior of the bag I used our 9oz Hemp Cotton Canvas in Light Grey with accents of our Vintage Vegan Leather in Khaki as well as 1" Hemp webbing for the straps, closures and hanging loops. I am so happy with how they all compliment each other.

 I also used black PUL (polyurethane laminate) for the lining, not so much to make it waterproof – I will not be putting any loose ice in here – but more to protect my back against any condensation from the ice packs or cold items. I think this also probably adds another layer of cold retention, but I can't be sure... I am no scientist. If you've ever used PUL, for reusable diapers perhaps, you know that it has two sides. I call them the soft side and the shiny side. PUL is a polyester woven fabric with a coating of polyurethane on one side. I chose to use the shiny side out, so that the inside of the bag would be easy to wipe clean in case of faulty tupperware. I didn't want the PUL to show at the opening of the bag, so I drafted an easy facing for the lining, so that you just see more of the hemp canvas poking out instead of the polyurethane lining. I am very happy with how sleek this looks.
 One last modification I made to the pattern is the addition of padded straps. I knew that if this bag was full of food and drink that it might get a bit heavy and so I wanted to protect our shoulders. I wasn't entirely sure how I was going to go about this, so I inspected a couple backpacks we had and just kind of winged it! I used bra foam and scraps of quilt batting, and here's how I did it:


First I made a template. This was freehanded, but based off of a travel backpack I have. I cut it out of paper and tried that up against my body to see if the shape and length were alright. I ended up changing the curve slightly and trying it again. I assume that everyone will have a different shape that feels best for them. I then added a 3/8" seam allowance to this pattern piece and cut out 2 pairs from my hemp canvas and sewed them with right sides together keeping the top portion open for turning later. I trimmed the seam allowance to 1/4" and clipped the curves.


With the original shape (the one without the seam allowances) I cut out 2 from the bra foam and 2 from the batting. With some basting spay, I adhered one layer of foam and one layer of batting to the wrong side of each strap, keeping the foam and batting within the seam allowance. Once everything was all stuck together I carefully turned the entire thing right-side-out so that the batting and foam were now sandwiched in between the two layers of canvas. I then topstitched around the outer edge of the strap, catching all layers and added a couple of horizontal lines of topstitching to keep the foam and batting in place. All done!


When it came to the insulation, It was so easy to use I simply basted it to the lining pieces on all edges just inside the seam allowance and treated them as one.
 We test-drove our new bag last night, and stuffed it with homemade Thai salad, and delicious natural wine. We found a lovely spot at the top of a hill with a view of the Cattle Castle to our left, and a drive-in screening of Guardians of the Galaxy behind us in the football field. Below us was a group of people playing frisbee and few little kids running around enjoying the longest day of the year. It was truly magical, but made even more glorious by the fact that the wine stayed chilled while we sipped it. All that was missing was our bartender friends, but we will see them again soon.
Thanks for stopping by xo M
1 comment
What a great backpack! Love it.
That quilt though ! 😍😍. Do you have a pattern for that quilt?