


Can you believe its been 6 months since this crazy global pandemic upended everyone's normal lives?! What types of changes have you been making in your day to day? I know that many of us are limiting our shop visits, and for me that means using more reusable products. I have wanted to switch to more eco friendly products for a long time, in fact I've been wanting to make reusable make up wipes since I started writing this blog a year ago! It only took a global outbreak to get me off my butt and actually make them!
I'm sure you've all seen these types of wipes out there. They are available at most sustainable goods stores and lots can be found on Etsy, but they are SO easy to make and are a fantastic scrap buster, there is no excuse not to make yourself some! I know a lot of the versions that you can buy have a simple serged edge, but I also know, not everyone has a serger at home, so I've included instructions on how to make these wipes without a serger!

Okay, so let's talk fabric! As this is a low-waste project, I recommend going through your scrap bin and using up some of your smaller pieces. You'll want to use two layers of fabric, they can be the same or different. I'm using scraps of organic cotton flannel and organic cotton waffle but here are some other fabrics that could work well:

If you're going to finish your wipes with a serger, you can choose to either cut them in a circle or in a square. There are benefits and disadvantages to both. Cutting circles create more waste, but are quicker and simpler to sew. Cutting squares mean's less waste and super quick cutting if you use a quilting ruler and rotary cutter, but are a bit slower to sew and mean either turning corners with your serger, or weaving in more ends. If you've chosen to do circles, you'll need to find some sort of round object around the house – like a drinking glass or jar lid – and trace some circles on to your fabric. If you're doing squares, here is a a great video tutorial on how to turn corners with your serger.


Once you've cut out all your pieces, all you need to do is place your two pieces of fabric wrong sides together and serge around all sides. You can then either weave in your serger threads or use a little Fray-check on the stitches and snip them off.
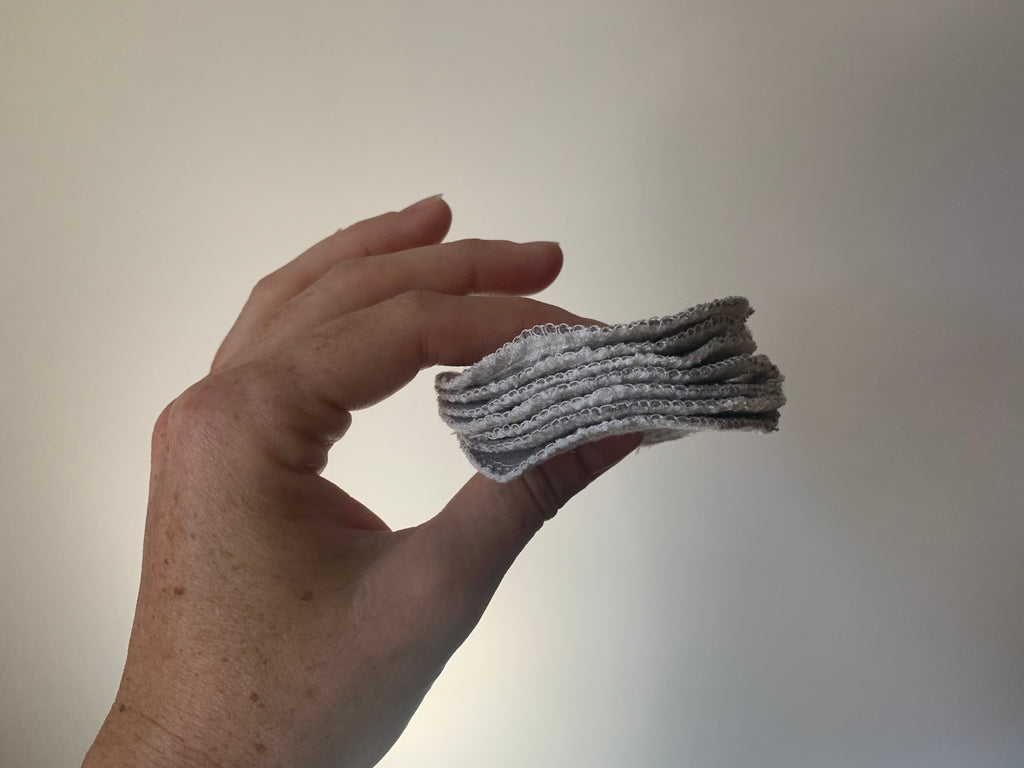
That's it! Super simple and oh-so quick!

Now for the version without a serger. This easy and quick as well, but does have a few extra steps. First you'll want to cut some squares of fabric in your desired size plus seam allowances. I cut mine at 3" square and used a 1/4" seam allowance which made my finished wipes 2.5" square. In the future, I would do them just a bit bigger.. maybe cut them at 3 1/2" so the finished wipes are 3" square, but this is completely up to you. In fact, you can use this technique to make larger wipes to use around the house, or as "un-paper towels".


Once you've got your squares cut, place two with right sides together and sew all the way around using your desired seam allowance, making sure to leave about a 1" opening in your stitching for turning. Clip the corners to reduce bulk, and turn your squares right side out pushing out your corners with a point turner or chopstick. Give your squares a good press making sure to fold in the seam allowances at the opening. Now all that is left to do it topstitch around all sides making sure to catch the seam allowances where you left your opening. C'est tout! Easy peasy.

Keep them in a cute container in your bathroom and when they're dirty, throw them in a mesh bag – we have a tutorial here – and toss them in the wash!
As a bit of a bonus, here are a few ideas for homemade natural makeup remover that I like:
The fact that these are reusable and made from scraps makes them extra eco-friendly, so I hope you give this quick project a try! Make sure to tag us #simplififabric so we can see your makes!
Thanks for stopping by! xo M
